This is a blog of a different nature to those I've done so far but as well as cooking I love to make things that last a bit longer than cake :) This is one of them. During a crafty moment a few weeks back I had the idea to create a wall mounted jewellery holder.

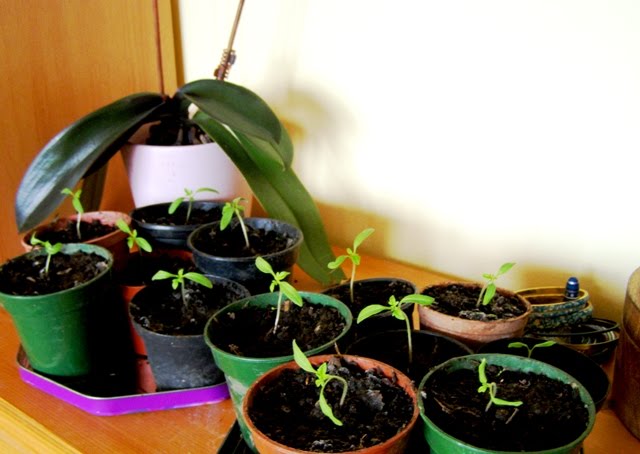
I've seen in other peoples houses pretty necklaces hung with pins on the wall as decoration and have always liked the idea. I also find my dresser in the bedroom gets cluttered with other bits and pieces (including currently ~ 12 baby tomato plants and an orchid - the light is good!). So I figured something to hang on the wall might be practical and pretty at the same time.
As I wanted the pieces displayed to be dangly it hasn't actually saved much space as there is still a need for my separate earring tree on the dresser to hold stud backs and my wooden jewellery boxes for larger (more garish?!) necklaces and bracelets. However I do think it looks quite pretty.

I still have to think of a way for my stud earrings to take up less space...

My wall mounted effort is also good as it gives me a chance to display my favourite pieces of jewellery lthat might otherwise be stacked in a box such as the rings my nan left me which although don't get worn often have great sentimental value for me. I love the 3 stoned one especially as it was nanny's engagement ring given to her by grandad. I'm quite the romantic and so love the symbolism of such a long and happy relationship and it also serves as a special reminder of both of them for me.

This is my favourite charm necklace and my two favourite charms, a mortar board Theo gave me on my graduation day and a birthday present hotdiamond cupcake charm which says 'fat free' - he knows me so well, if only it were edible!

I should admit this project did take a rather long time to make, I started by drawing a sketch of the shape I had in mind, refining it and drawing a grid over it to allow me to scale it up. I decided how much I wanted to scale it up by and worked out how much wood I would need.

I then went out and found a nice bit of suitable pine wood from a sustainably managed forest (unfortunately it wasn't lying on a forest floor at the time and free of charge but sitting on a shelf in B&Q). I went for a nice chunky piece as that's what I fancied for the finished look and once purchased I drew my scaled up grid on the wood and went about copying my image over.
After this it was simply a case of jigsawing along the lines. I say *simply*, it wasn't though :) It took a pretty long time and there's nothing more disheartening than spending ages perfectly cutting around a prettly little curl only for it to snap off on you at the last minute! Still, a few design adjustments or squirts of wood glue later and your ready to go again. When it was all cut out I breathed a sigh of relief and set about carefully sanding and filing `the edges until they were nice and smooth.

Then the excitment of the painting - initially anyway until you realise that getting paint down the edges of each curl is harder than you'd thought (thick wood has it's drawbacks). I started off wanting a light white effect allowing the grain to show through but then decided a slightly thicker coat of white sanded down when dry with a thin layer of pinky cream wiped over the top to take off the brightness looked best.

Once painted I went back to search B&Q for some cute little hooks (after looking online first and becoming quite distracted by miniature hooks listed on dolls house furniture websites - cute), I found some I was happy with which were a mixture of hooks (for necklaces, rings etc.) and eyelets (for hook back earrings) . I think they were intended for net curtains but did just the job I was looking for. I simply (again with a fair bit of elbow grease involved) twisted them in by hand where I wanted them.

As a finishing touch I also gave my little bird a sparkly red gem for an eye. After rummaging down my sewing bag I found just what I was after - a bag of gems ebayed back in my frivolous uni days when one had more student loan than sense. I was rather chuffed to finally find a use for one of them as I don't think they came cheap and i'm not one for wastage of any kind these days.
My favourite section is I think the heart which was semi by accident - once I noticed it I made sure to be careful to keep the shape as I liked it but I hadn't initially drawn it this way on purpose.

To hang it on the wall (although it also sits rather nicely on top of the dresser) I used a screwdriver to gouge out two small indents in the back of the wood and then placed two pins in the wall to line up with the holes (trickier than it sounds). I chose to do it this way as I wanted it to sit flush to the wall and have a *hovering* type effect.

So there you have it, I'm rather pleased with it and i'm keen to have another go having learnt from this time round. Perhaps a different size and different design next time. I should get some more practice as a few family members have requested I make some more -although until I purchase a magic saw I might have to request commission from them!
Wow, I love your necklace tree! I can't believe you made it- that's awesome. Could I commission you to make a mini version?
ReplyDeleteLove your blog btw. Happy long easter weekend!
Hi Sarah, thanks that's really sweet. I'd absolutely love to make you one. If you would like one just let me know some rough details of what you'd like size, colour and design wise. Have a great easter :)
ReplyDelete